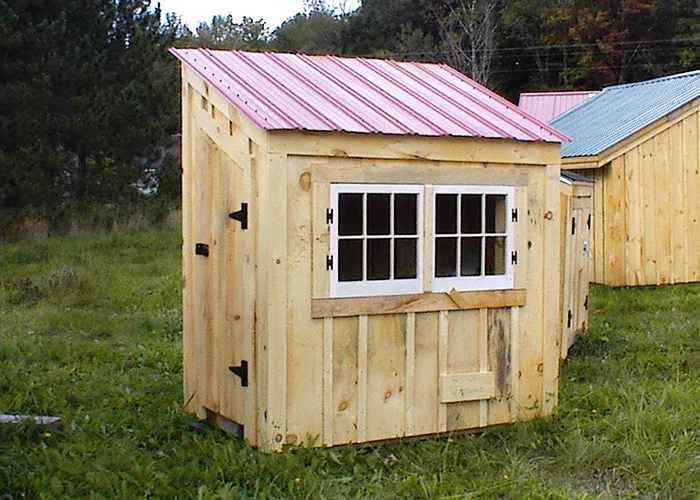
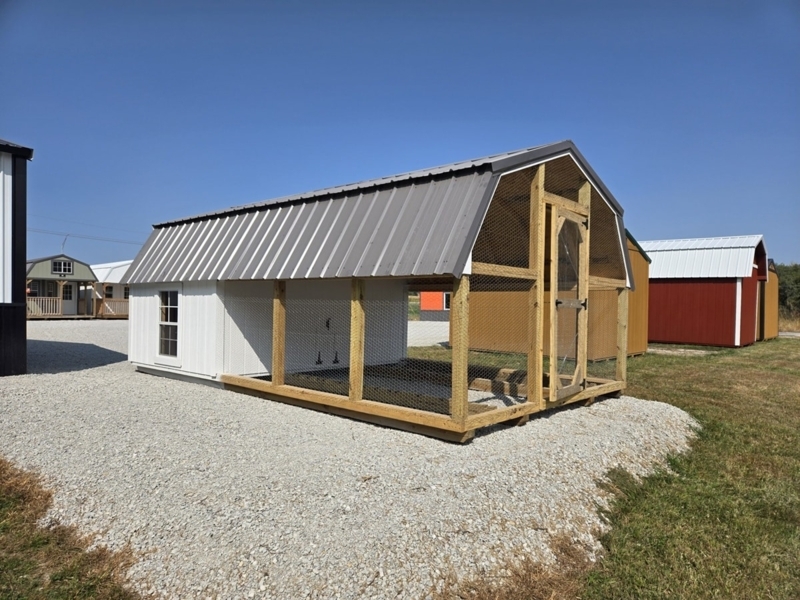
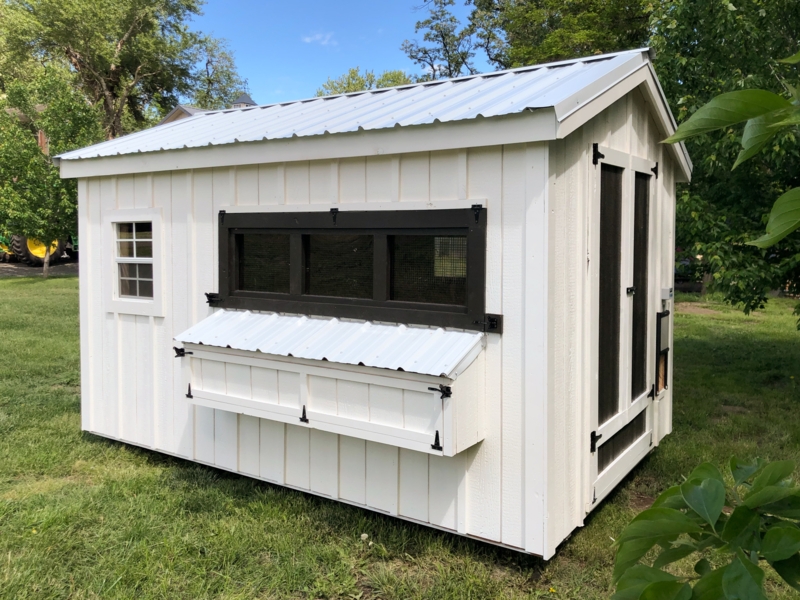
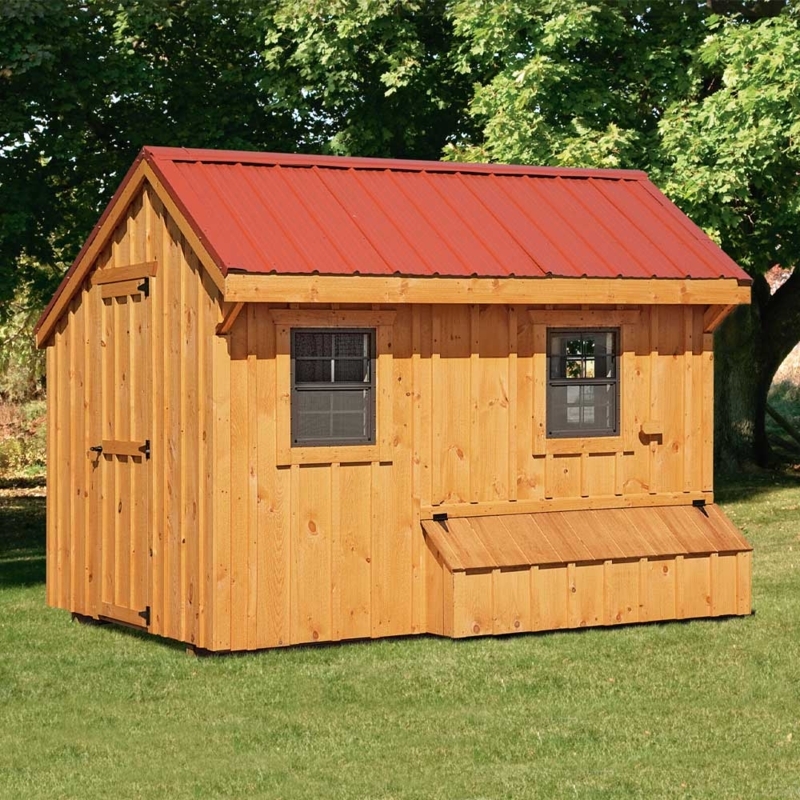
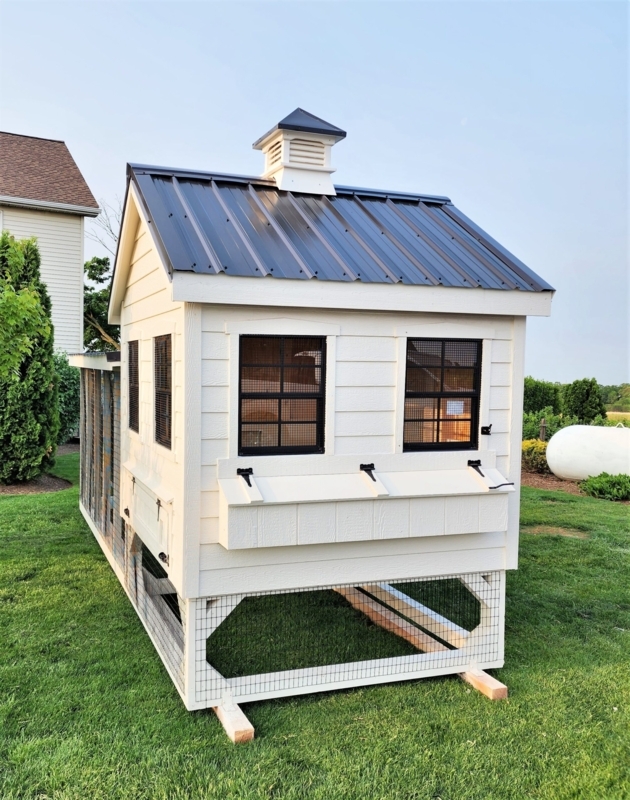
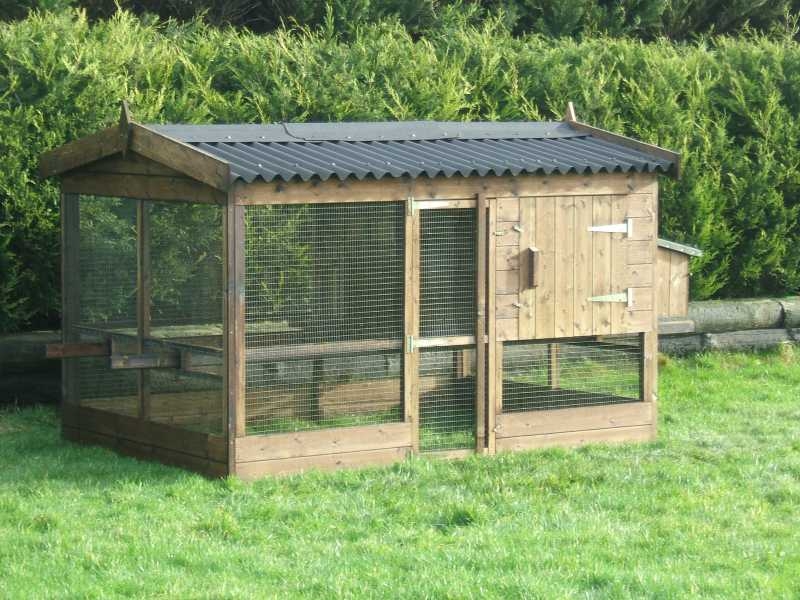
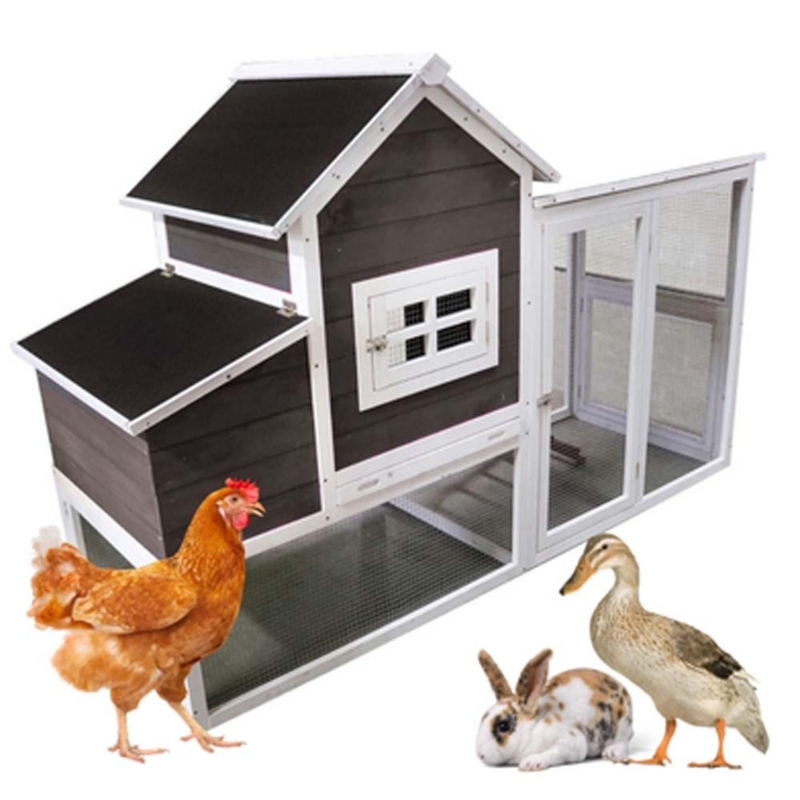
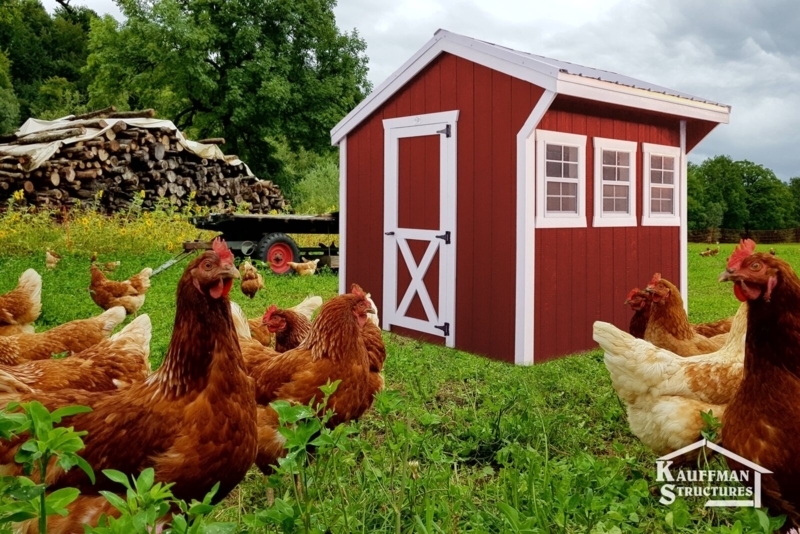
Chicken House for Sale
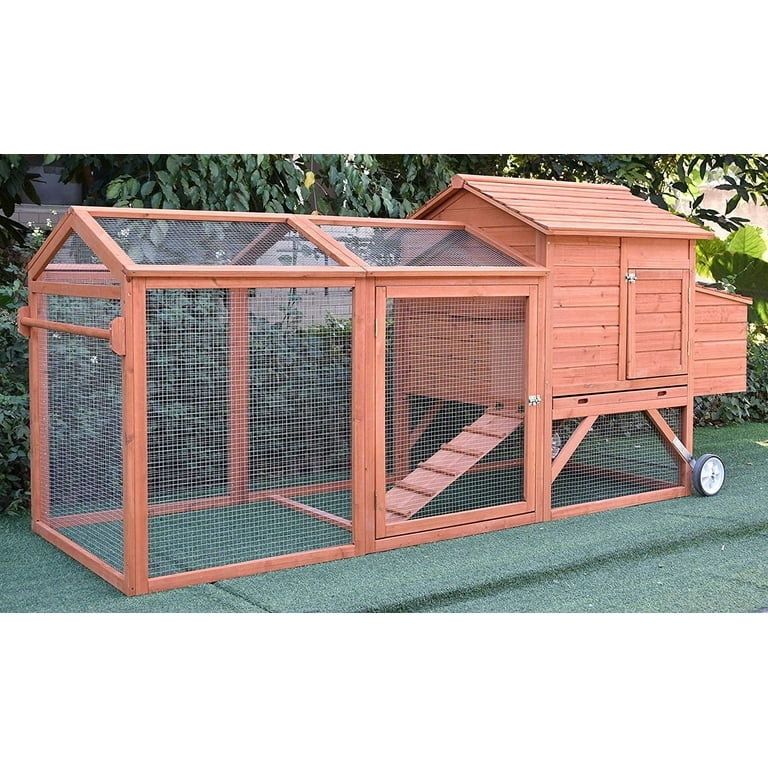
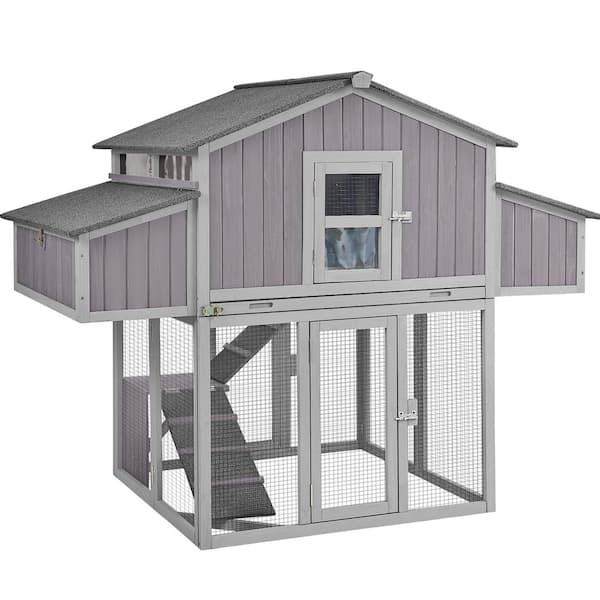
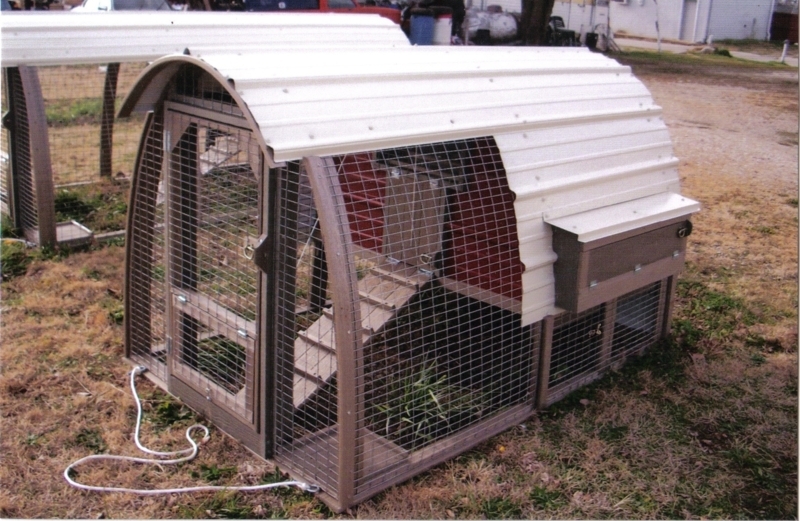
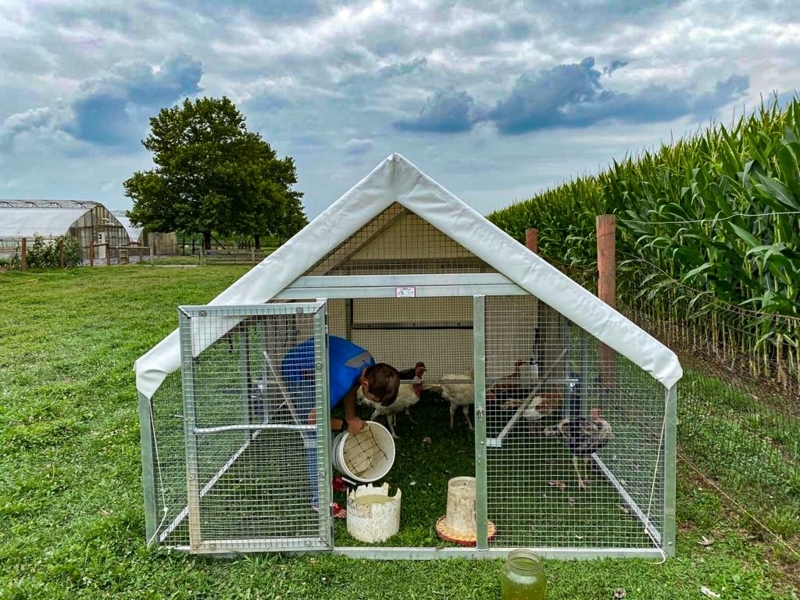
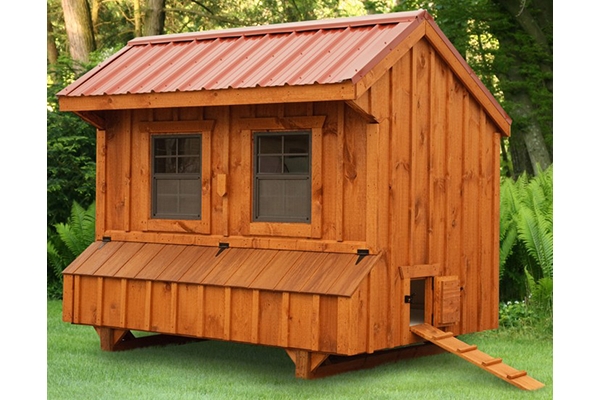
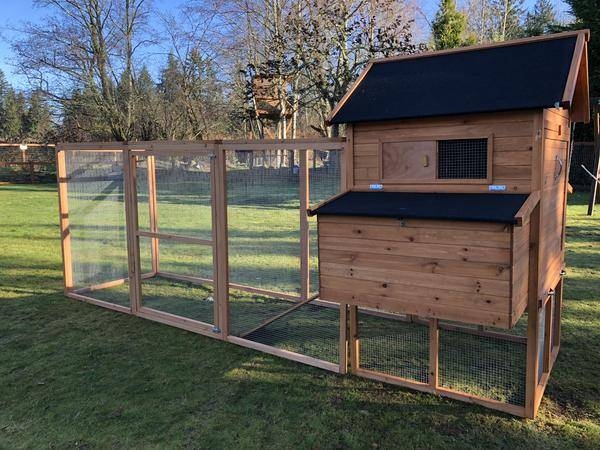
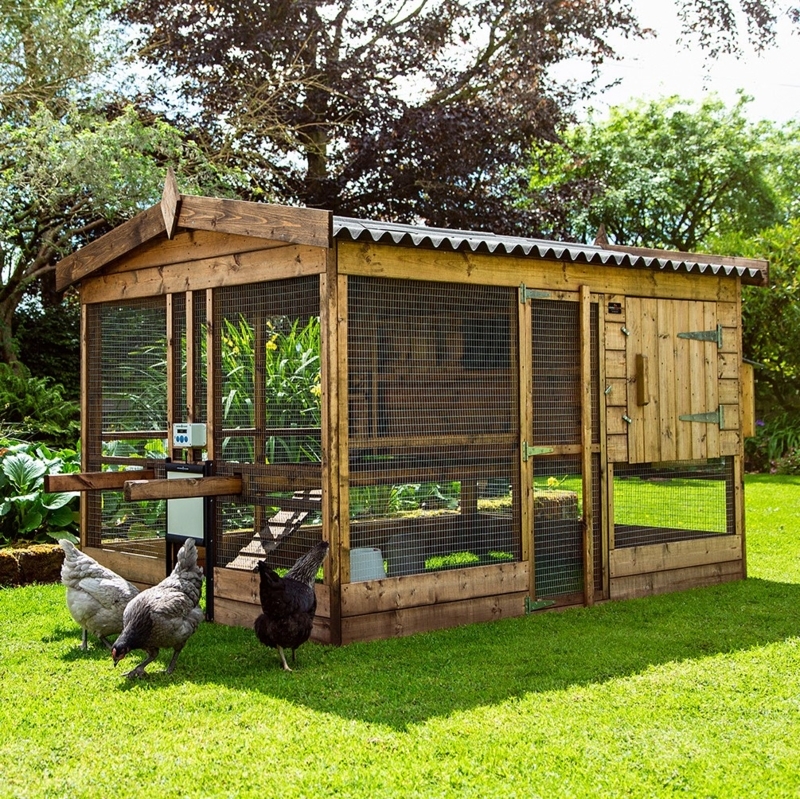
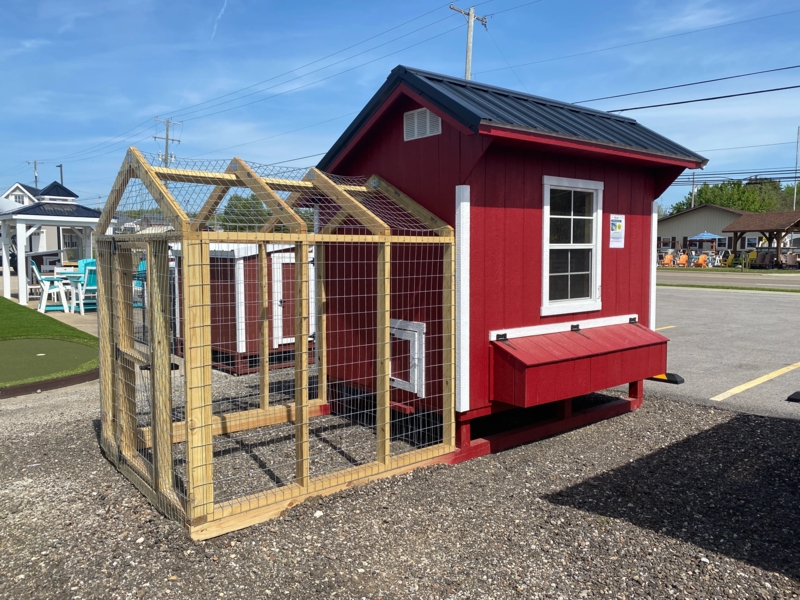
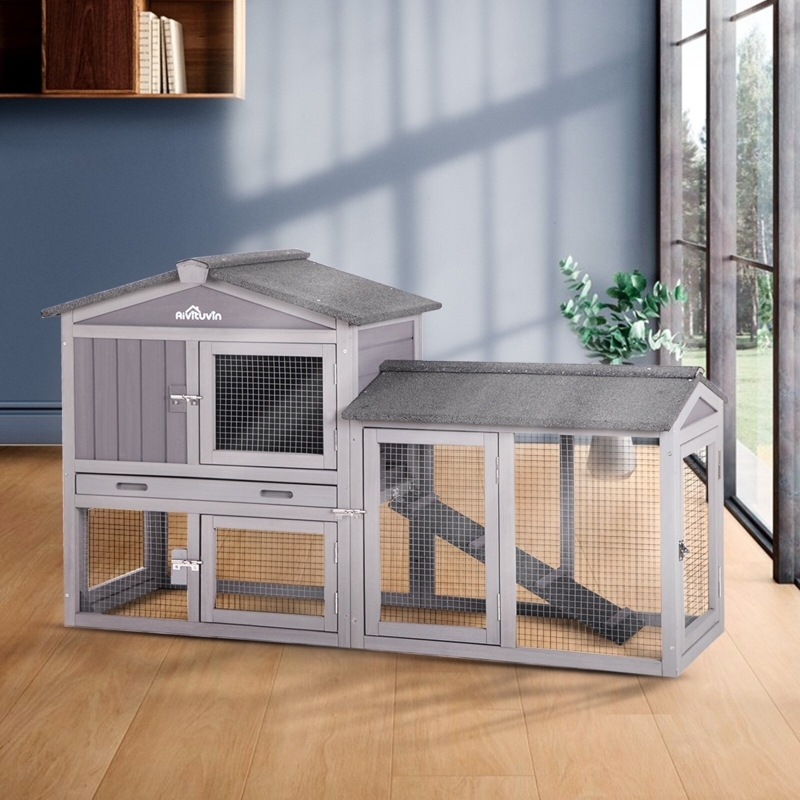
I selected these coops to provide a secure, predator-proof environment for your backyard flock. I prioritized weather-treated fir and galvanized wire mesh to ensure a durable structure that protects your birds while complementing your landscape.